


Step 1
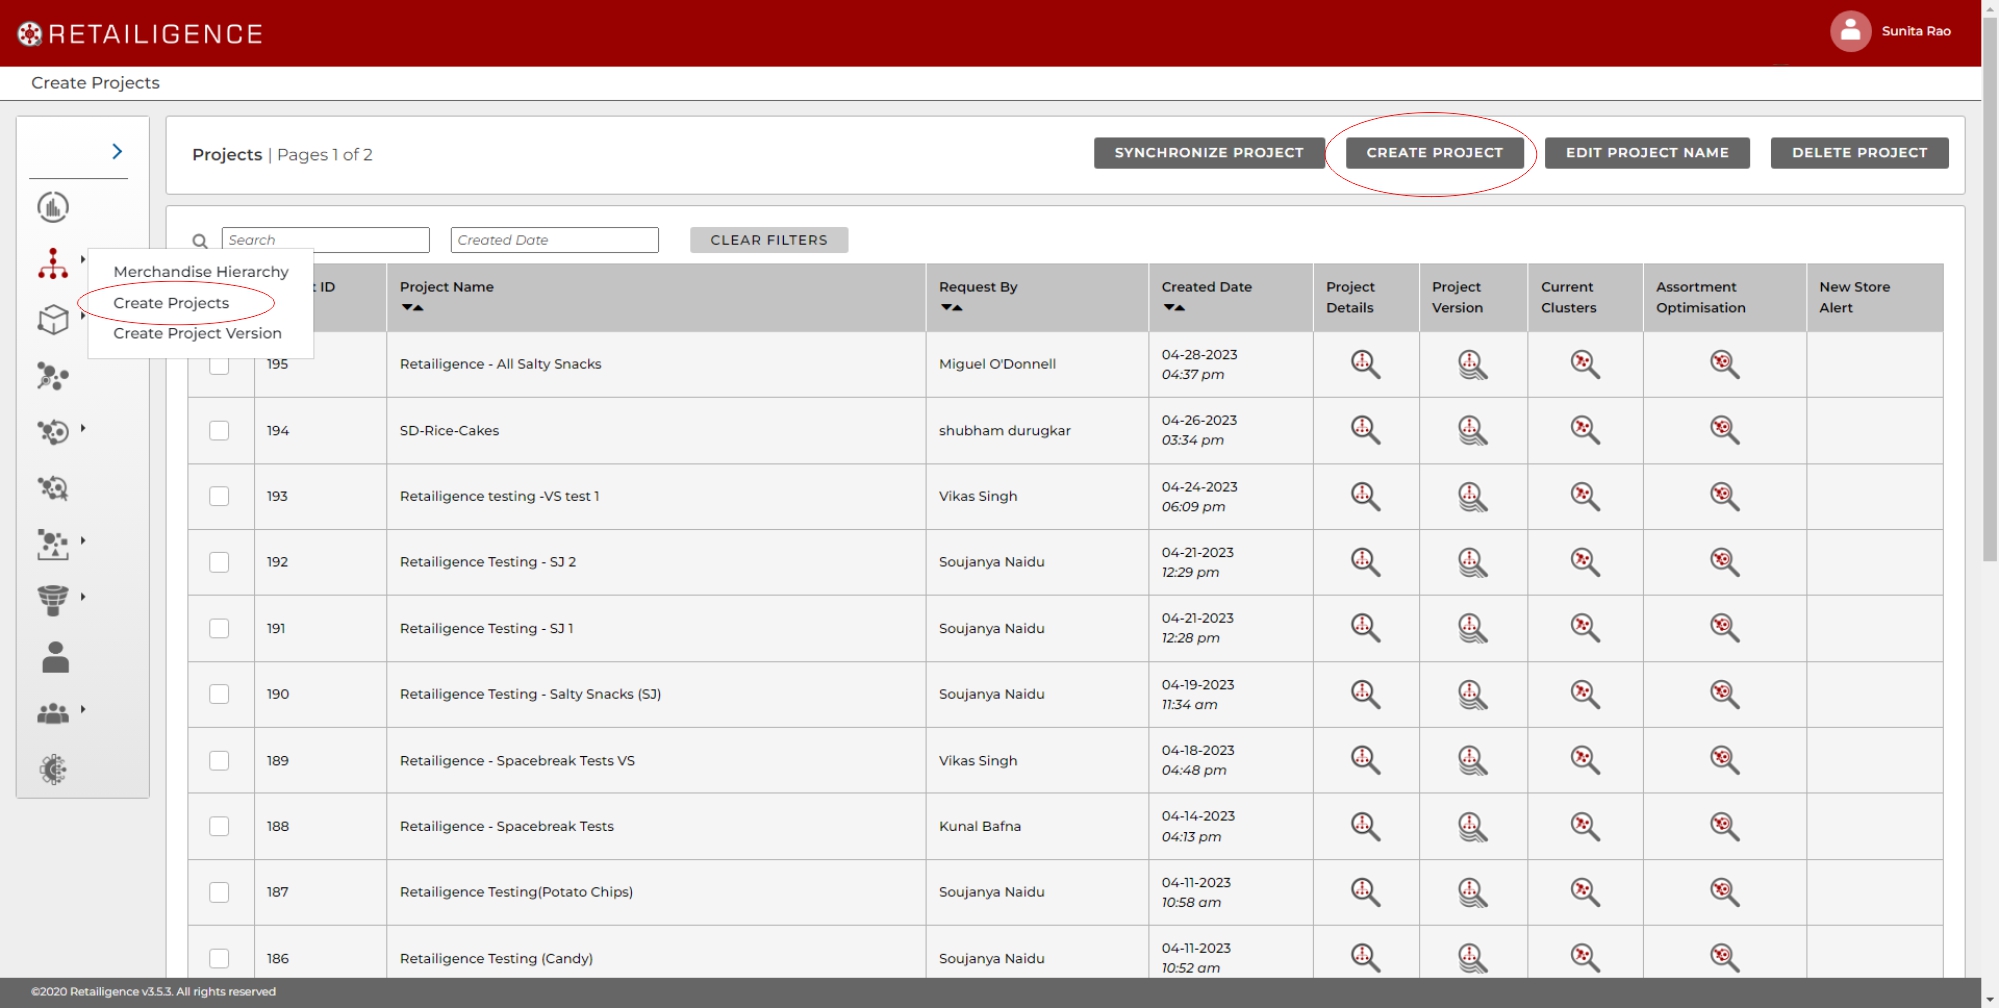
To Create a New Project, click on the ‘Create New Project’ button on the top right corner of the Projects display table.
The user will be presented with a screen where a number of drop down boxes represent the different levels of the business hierarchy and can used to select “the project content”
Reminder: The user can create a project at any level of the product hierarchy as long as it is below Domain level.
Step 2

- Select the area within the Domain box that you wish to run a project for.
- The departments for this domain will then appear in the adjacent department box. Again select the content for the project you wish to run.
- Repeat this step for the Main Product Group level of the hierarchy.
- If any Product Groups are not required uncheck them by clicking on them.
- Further project exclusions – If exclusions are required of specific Attributes, Attribute Values or Channels these can be selected from the boxes in the next portion of the screen
- Add a project title in the box provided
- A Summary of the selections made by the user is shown including a figure of the number of items selected
- Once the user has completed the process of making the above selections, click on the Create Project button.
- Once processed the project will appear at the top of the project list
- Project names can be amended or projects can be deleted by selecting the appropriate project from the list and pressing the relevant button at the top of the screen
Note: Until the project is submitted, the user may make as many changes as they require.